
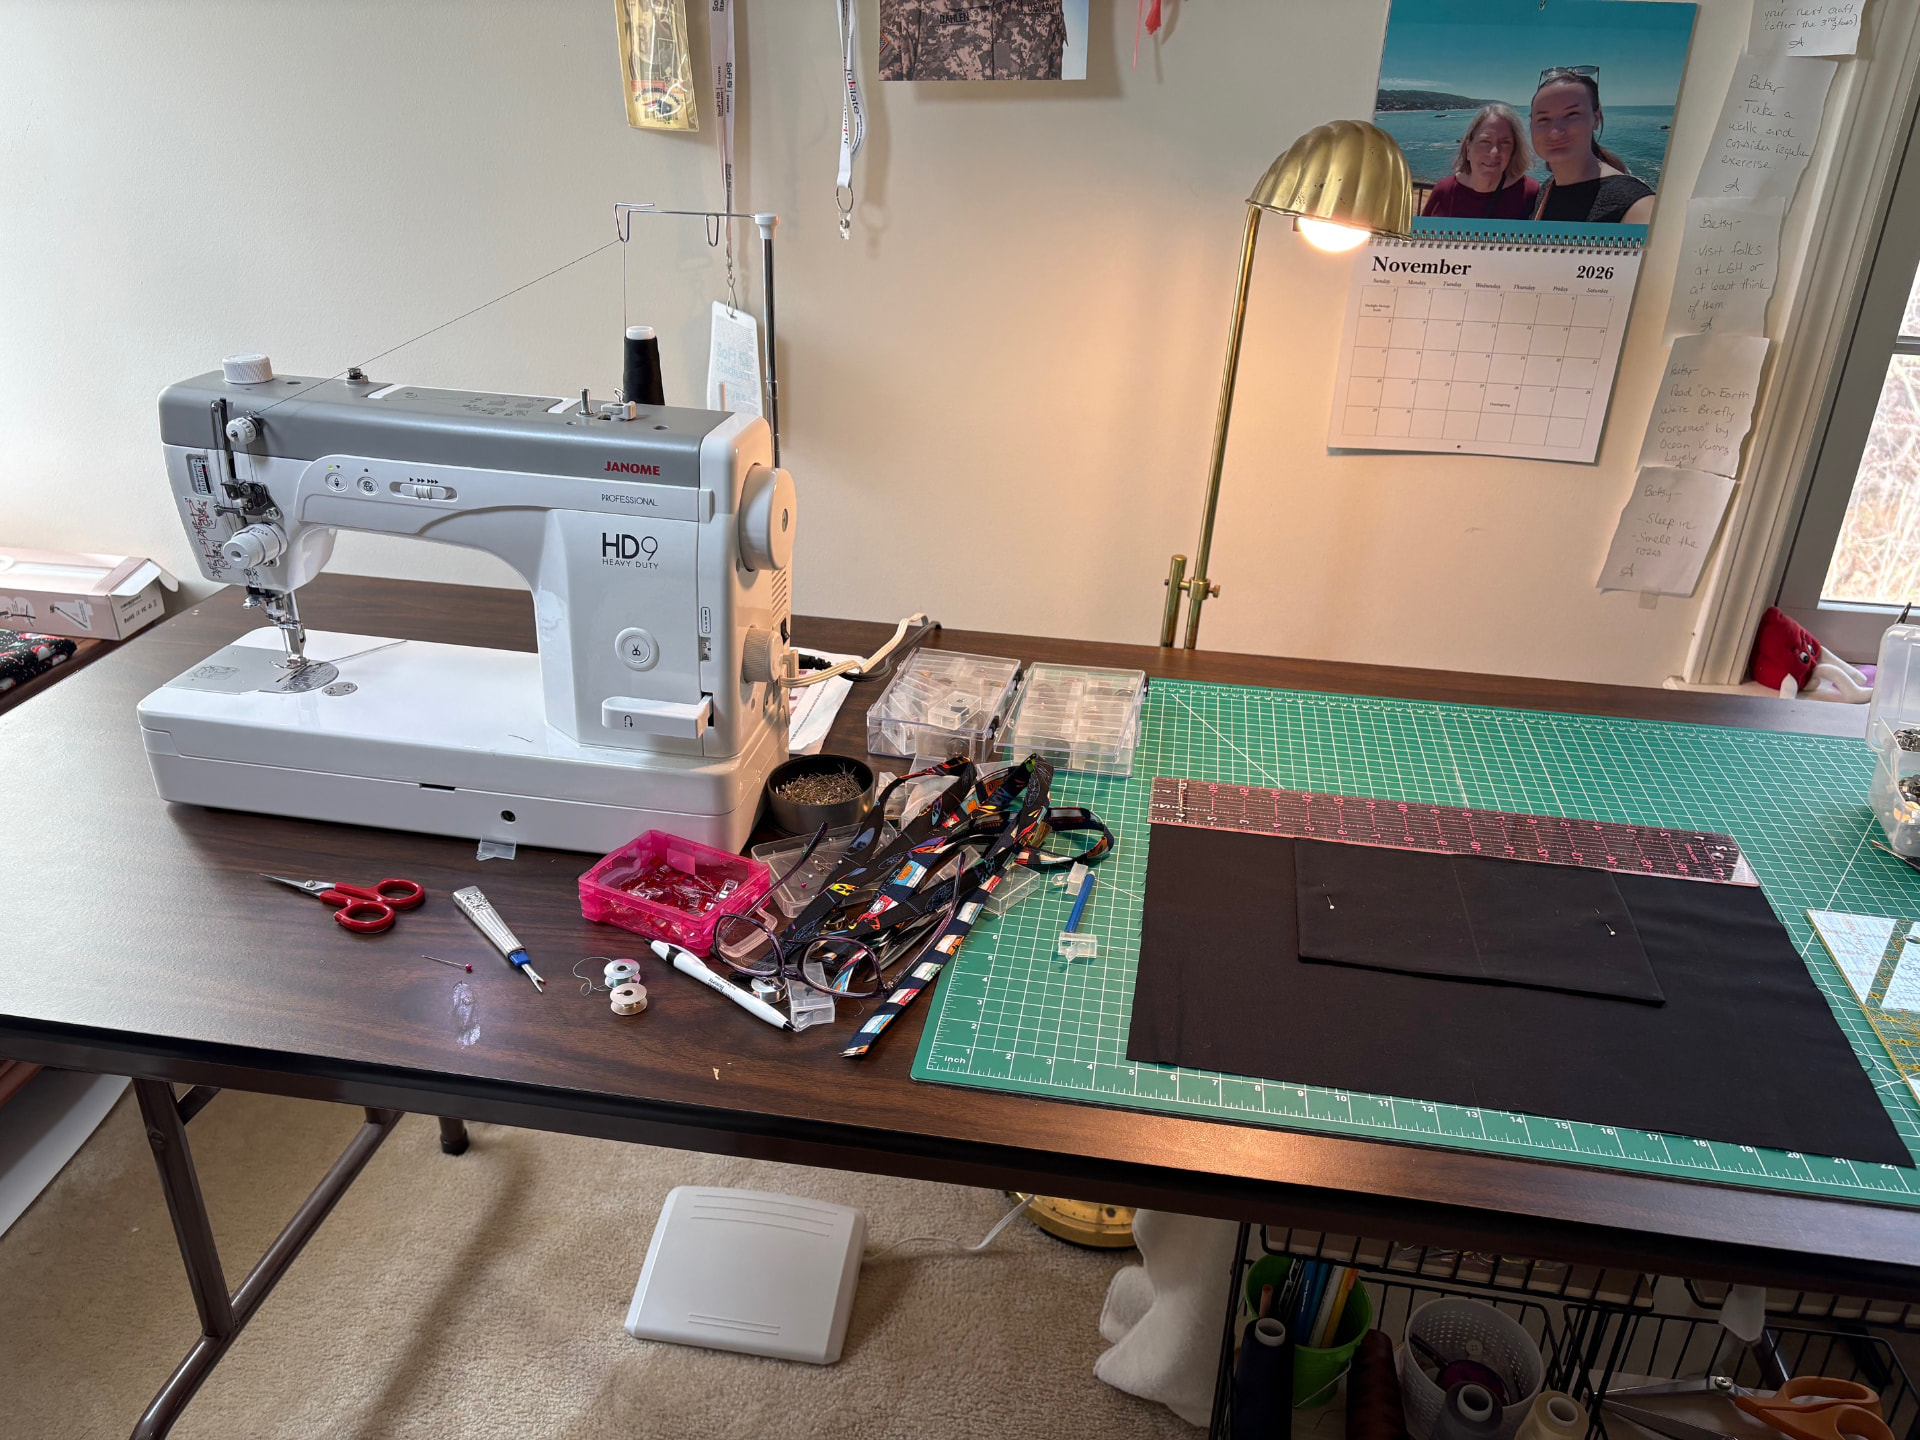
Ever wonder what goes into making one of my handmade tote bags?
It's a lot more than just cutting out some fabric and stitching it together! Every bag starts with an idea, a little planning, and quite a few steps before it's ready to head out the door.
With a craft fair coming up this weekend, I've been busy in my sewing room creating some fun holiday accessories. One of my latest creations is a Grinch-themed Chubby Tote, and I thought it would be fun to take you behind the seams and show you how it all comes together!
And yes, even the Grinch deserves a fabulous bag! 💚🎄
Step 1: It All Starts with the Fabric
There's something about finding the perfect fabric that gets my creativity going!
For this tote, I chose a bright red Grinch print filled with those unmistakable green faces, Santa hats, and snowflakes. It's colorful, playful, and just a little mischievous, exactly what you'd expect from the Grinch!
Once I've decided on the fabric, it's time to measure and cut all the pieces. There's the outer fabric, the lining, the interfacing, the pocket pieces, and everything else that will eventually become a finished bag.
This is where accuracy matters. A little mistake in cutting can make a big difference when everything comes together.
Step 2: Creating the Interior Pocket
Before I can assemble the bag, I need to work on the inside.
I always say that a bag should be as practical as it is fun, and pockets are a big part of that!
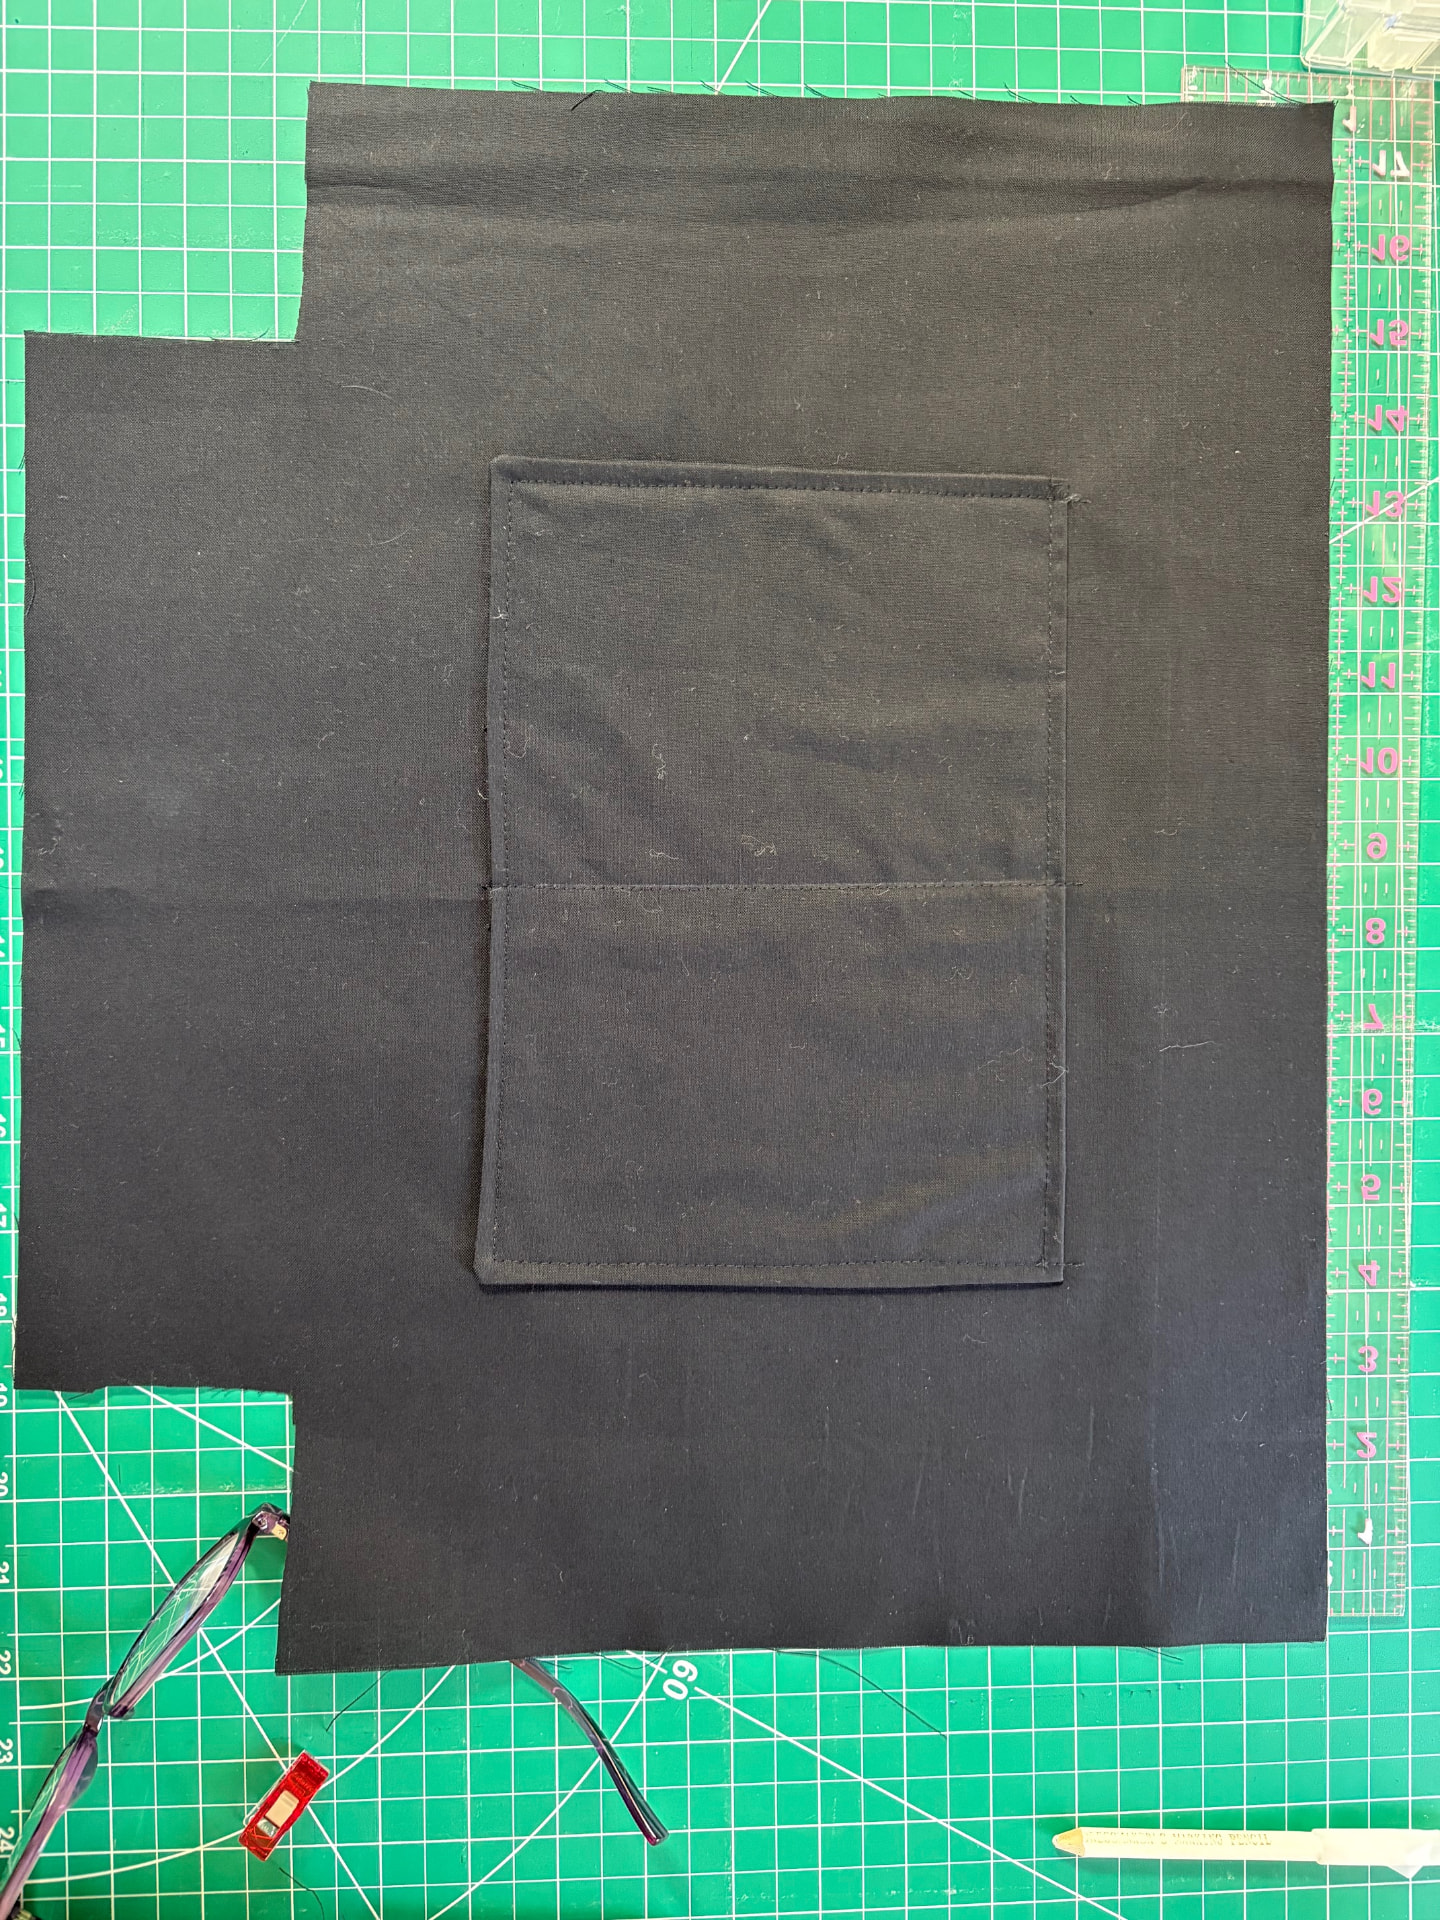
For this tote, I start by creating the interior pocket, carefully folding, pressing, and stitching the fabric before attaching it to the lining.
It might not be the most exciting part to look at, but it's one of those little details that makes a handmade bag so useful.
After all, who wants to dig around the bottom of a purse looking for their phone or keys?
Step 3: Sewing the Seams
Now things start looking a little more like a bag!
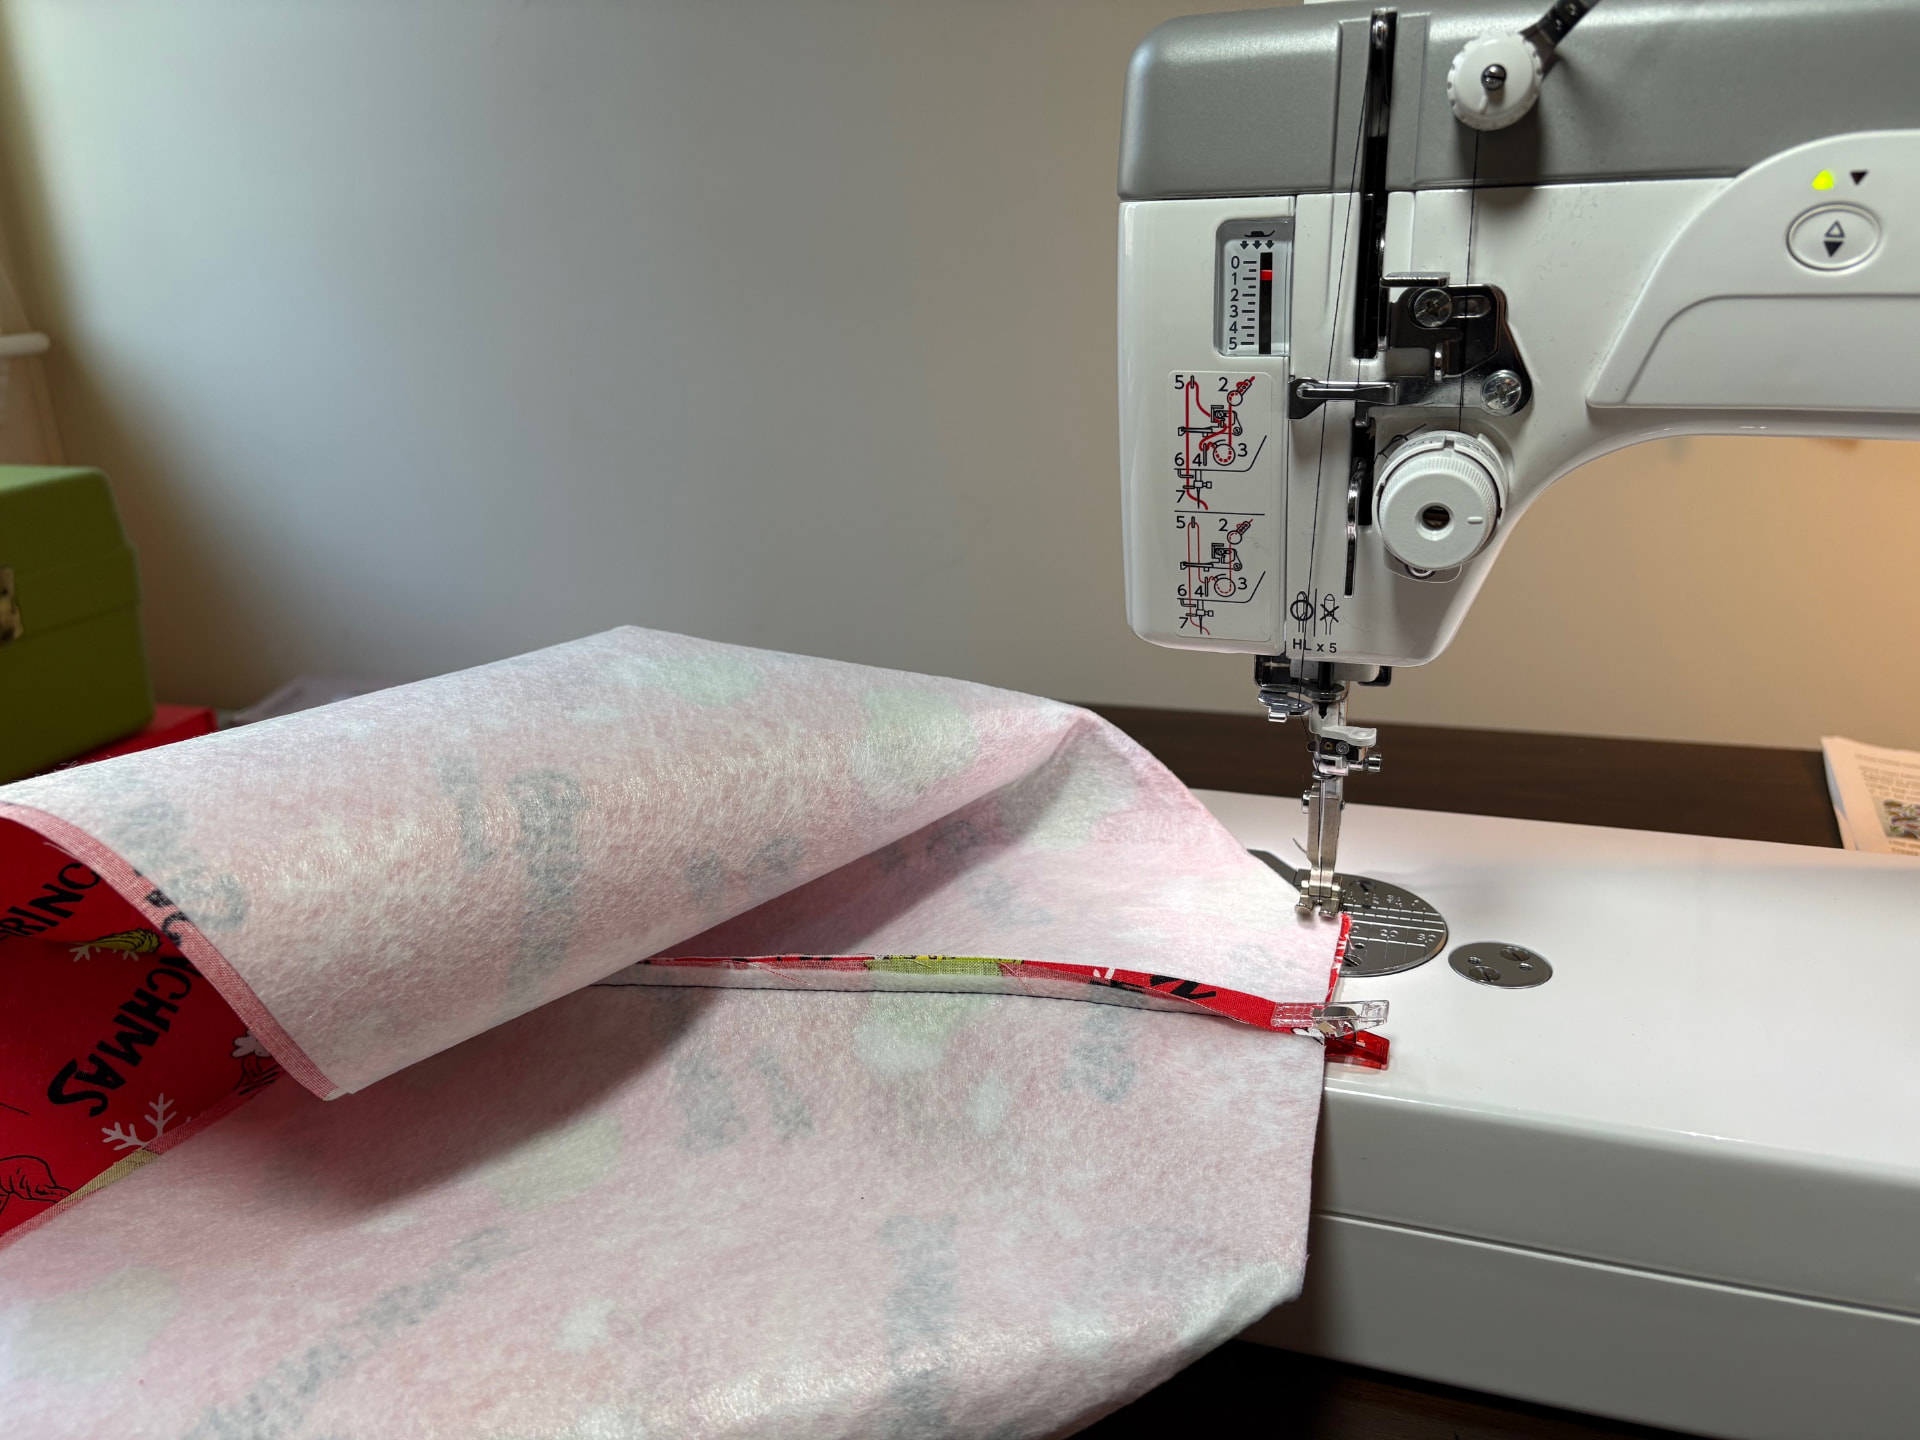
I begin sewing the side seams of the outer fabric and lining, making sure everything lines up properly.
At this stage, the fabric is still pretty flat, and it's hard to imagine that it will soon become a roomy tote.
But that's about to change!
Step 4: Giving the Tote Its Chubby Shape!
Here's one of my favorite steps, creating the bottom corners.
By sewing the corners in a particular way, the flat fabric begins to take on its three-dimensional shape.
And suddenly, there's that wonderful Chubby Tote silhouette!
The wider bottom gives this bag its roomy shape, making it perfect for carrying all sorts of everyday essentials.
It's amazing how a couple of carefully sewn corners can completely transform a piece of fabric.
Step 5: Adding the Magnetic Clasp
Next, it's time for another important detail: the closure.
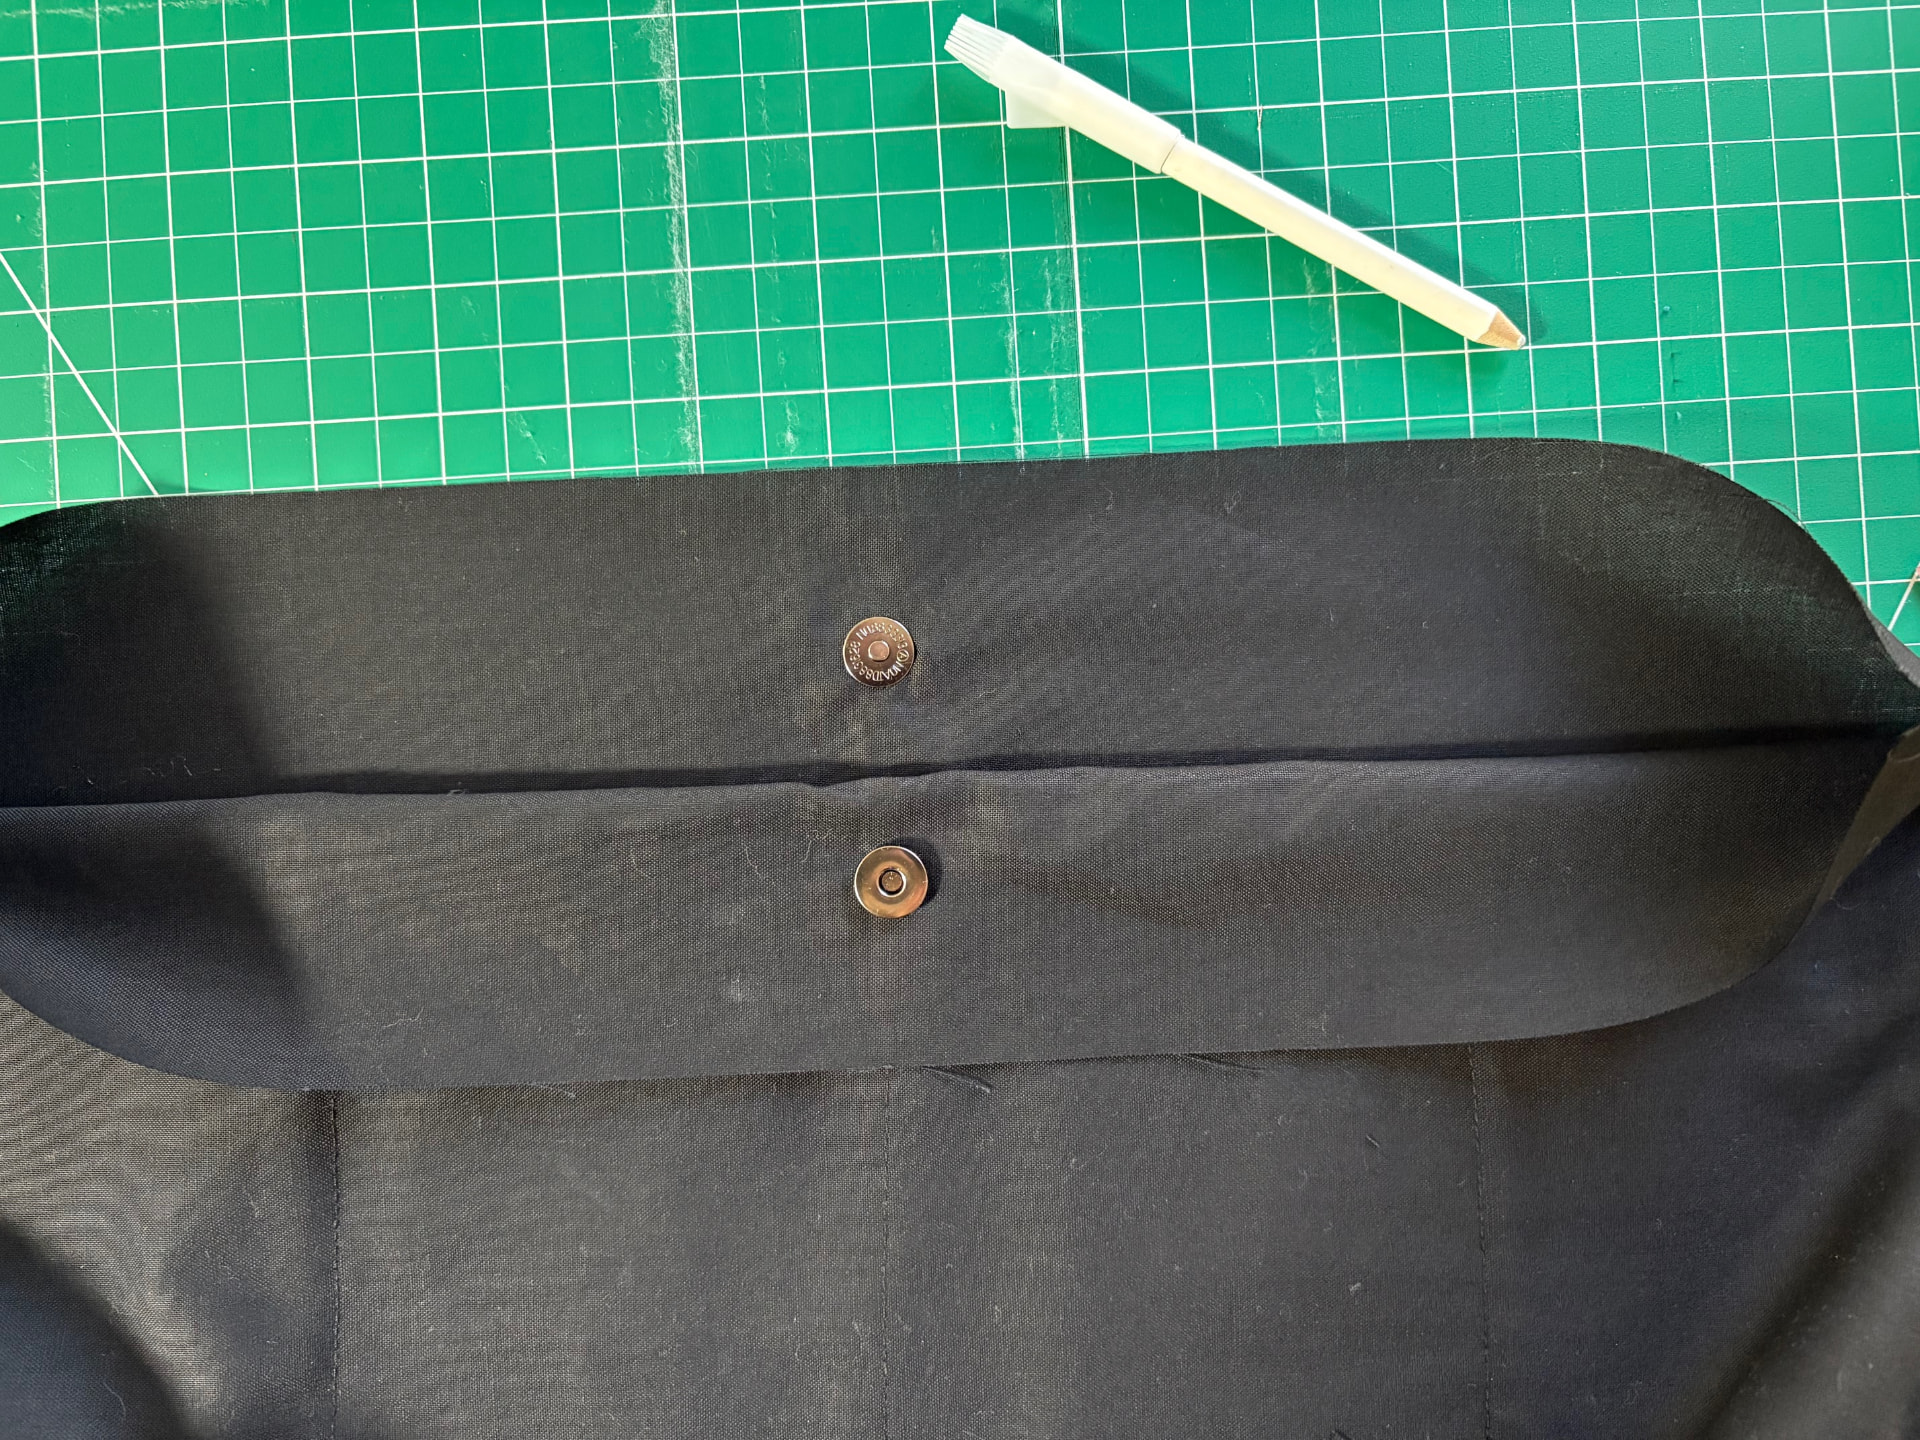
I add a magnetic clasp to the interior lining so the bag can close easily while keeping everything tucked inside.
It's a small feature, but one I really appreciate in a tote. No struggling with a zipper when you're trying to grab something quickly!
Of course, placement is important. I want that clasp centered and working properly once the entire bag is assembled.
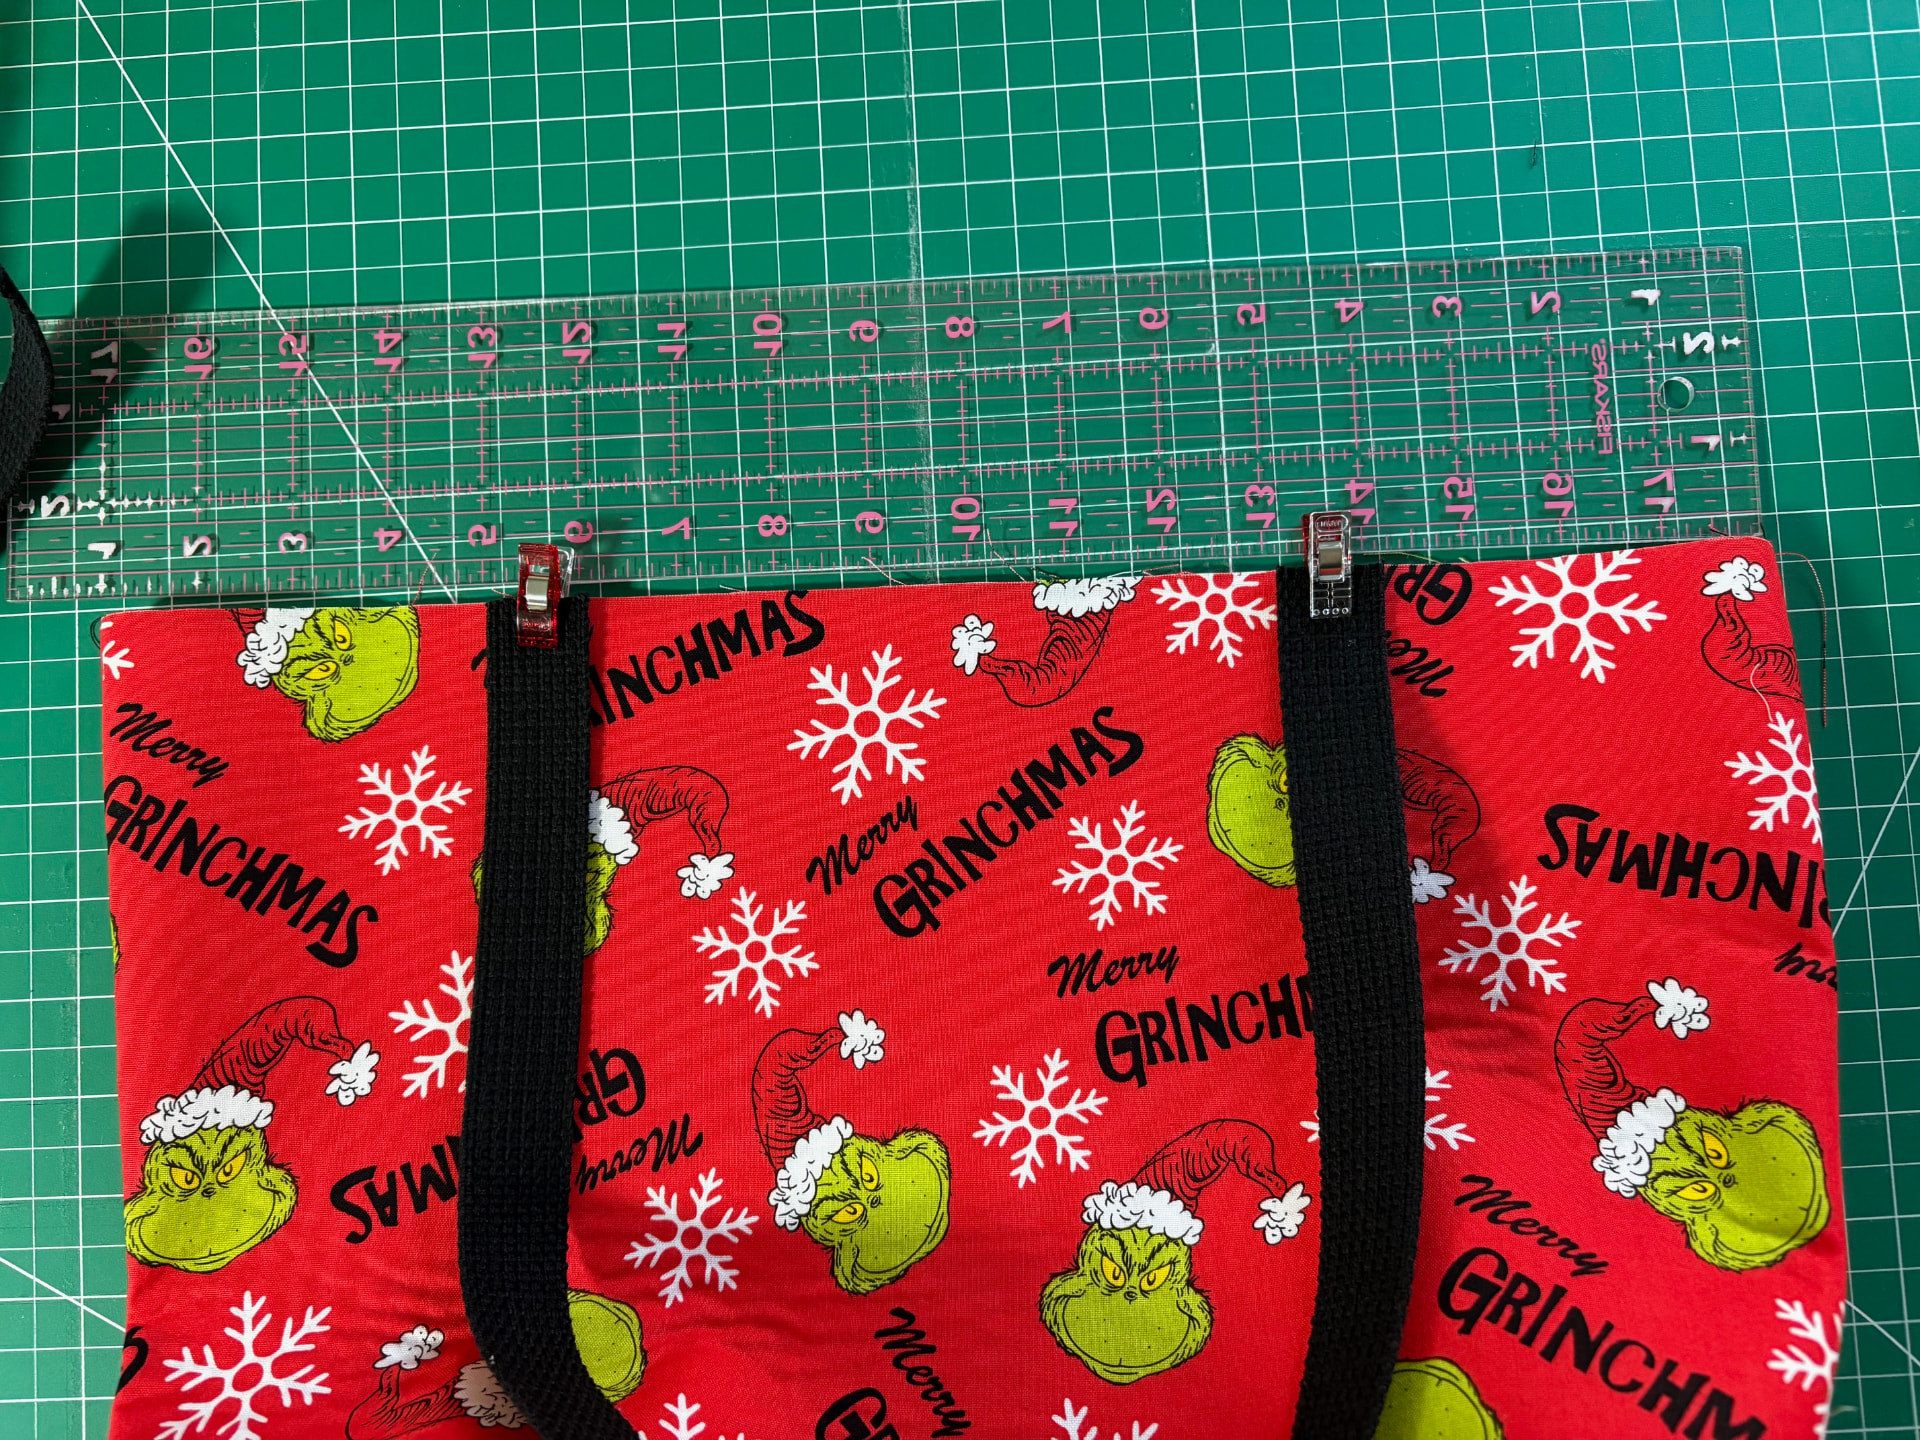
Step 6: Adding the Handles
Now it's time to give this tote something to hold onto!
I carefully position and attach the handles, making sure they're evenly spaced and securely sewn.
This is one of those steps where I check, double-check, and sometimes check again. Nobody wants a crooked handle!
And once those handles are in place, the tote really starts coming to life.
Step 7: Putting It All Together!
This is the moment I've been working toward!
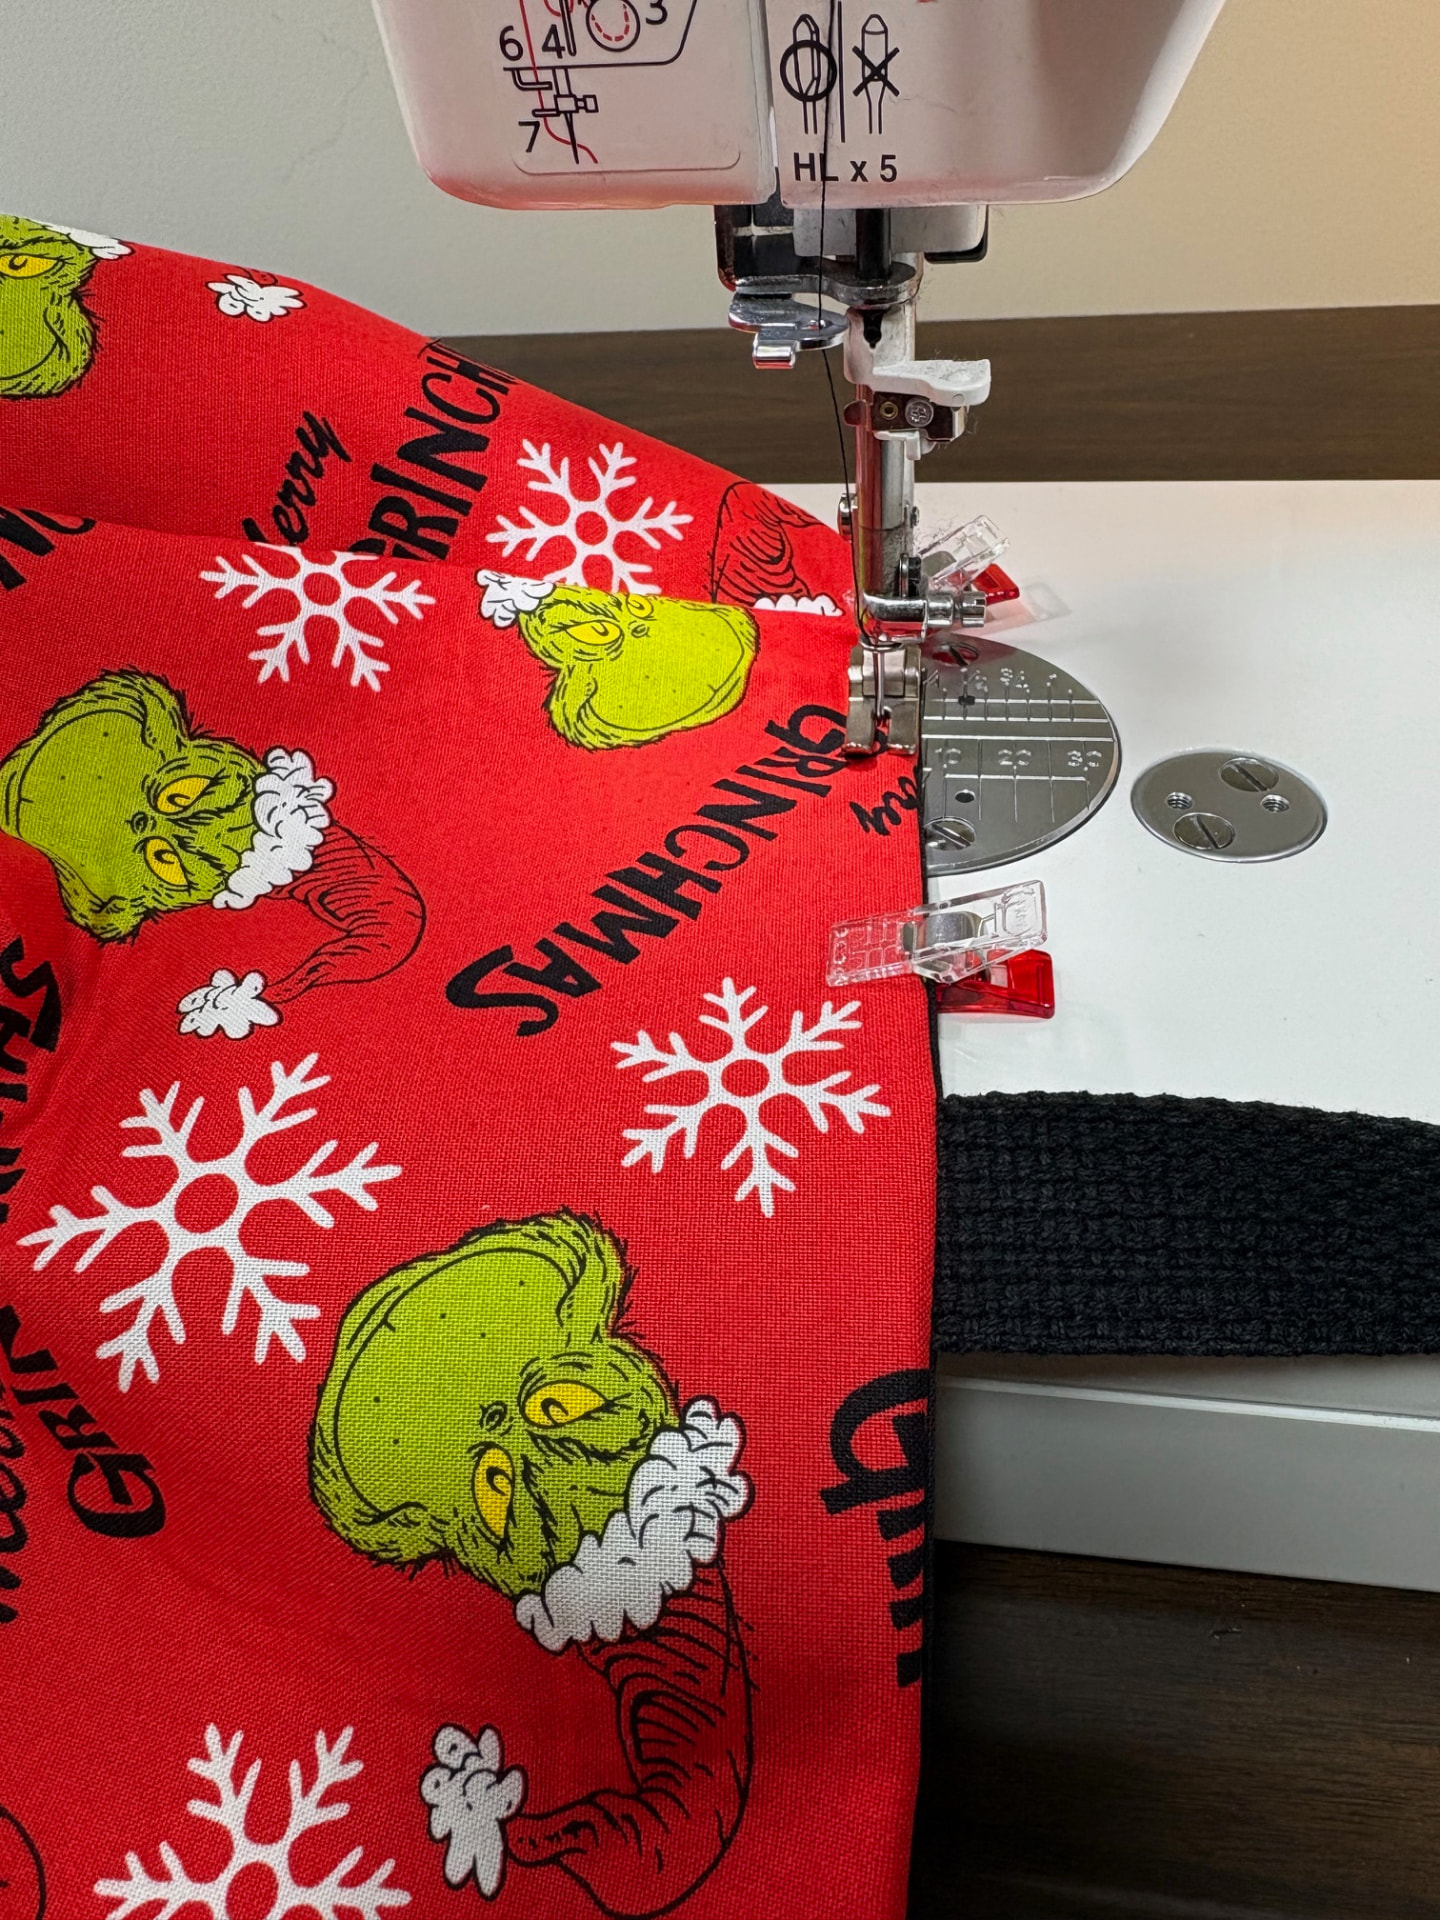
With the outer bag and lining completed, it's time to join them together.
I carefully position the two sections, sew them together, and turn everything right side out.
And suddenly... it's a tote bag! 🎉
Well, almost!
There's still some finishing work to do, including making sure the lining sits properly, the top edge looks neat, and everything is pressed and ready to go.
I always love this part because it's when all those separate pieces finally become one finished creation.
Step 8: The Finished Grinch Chubby Tote!
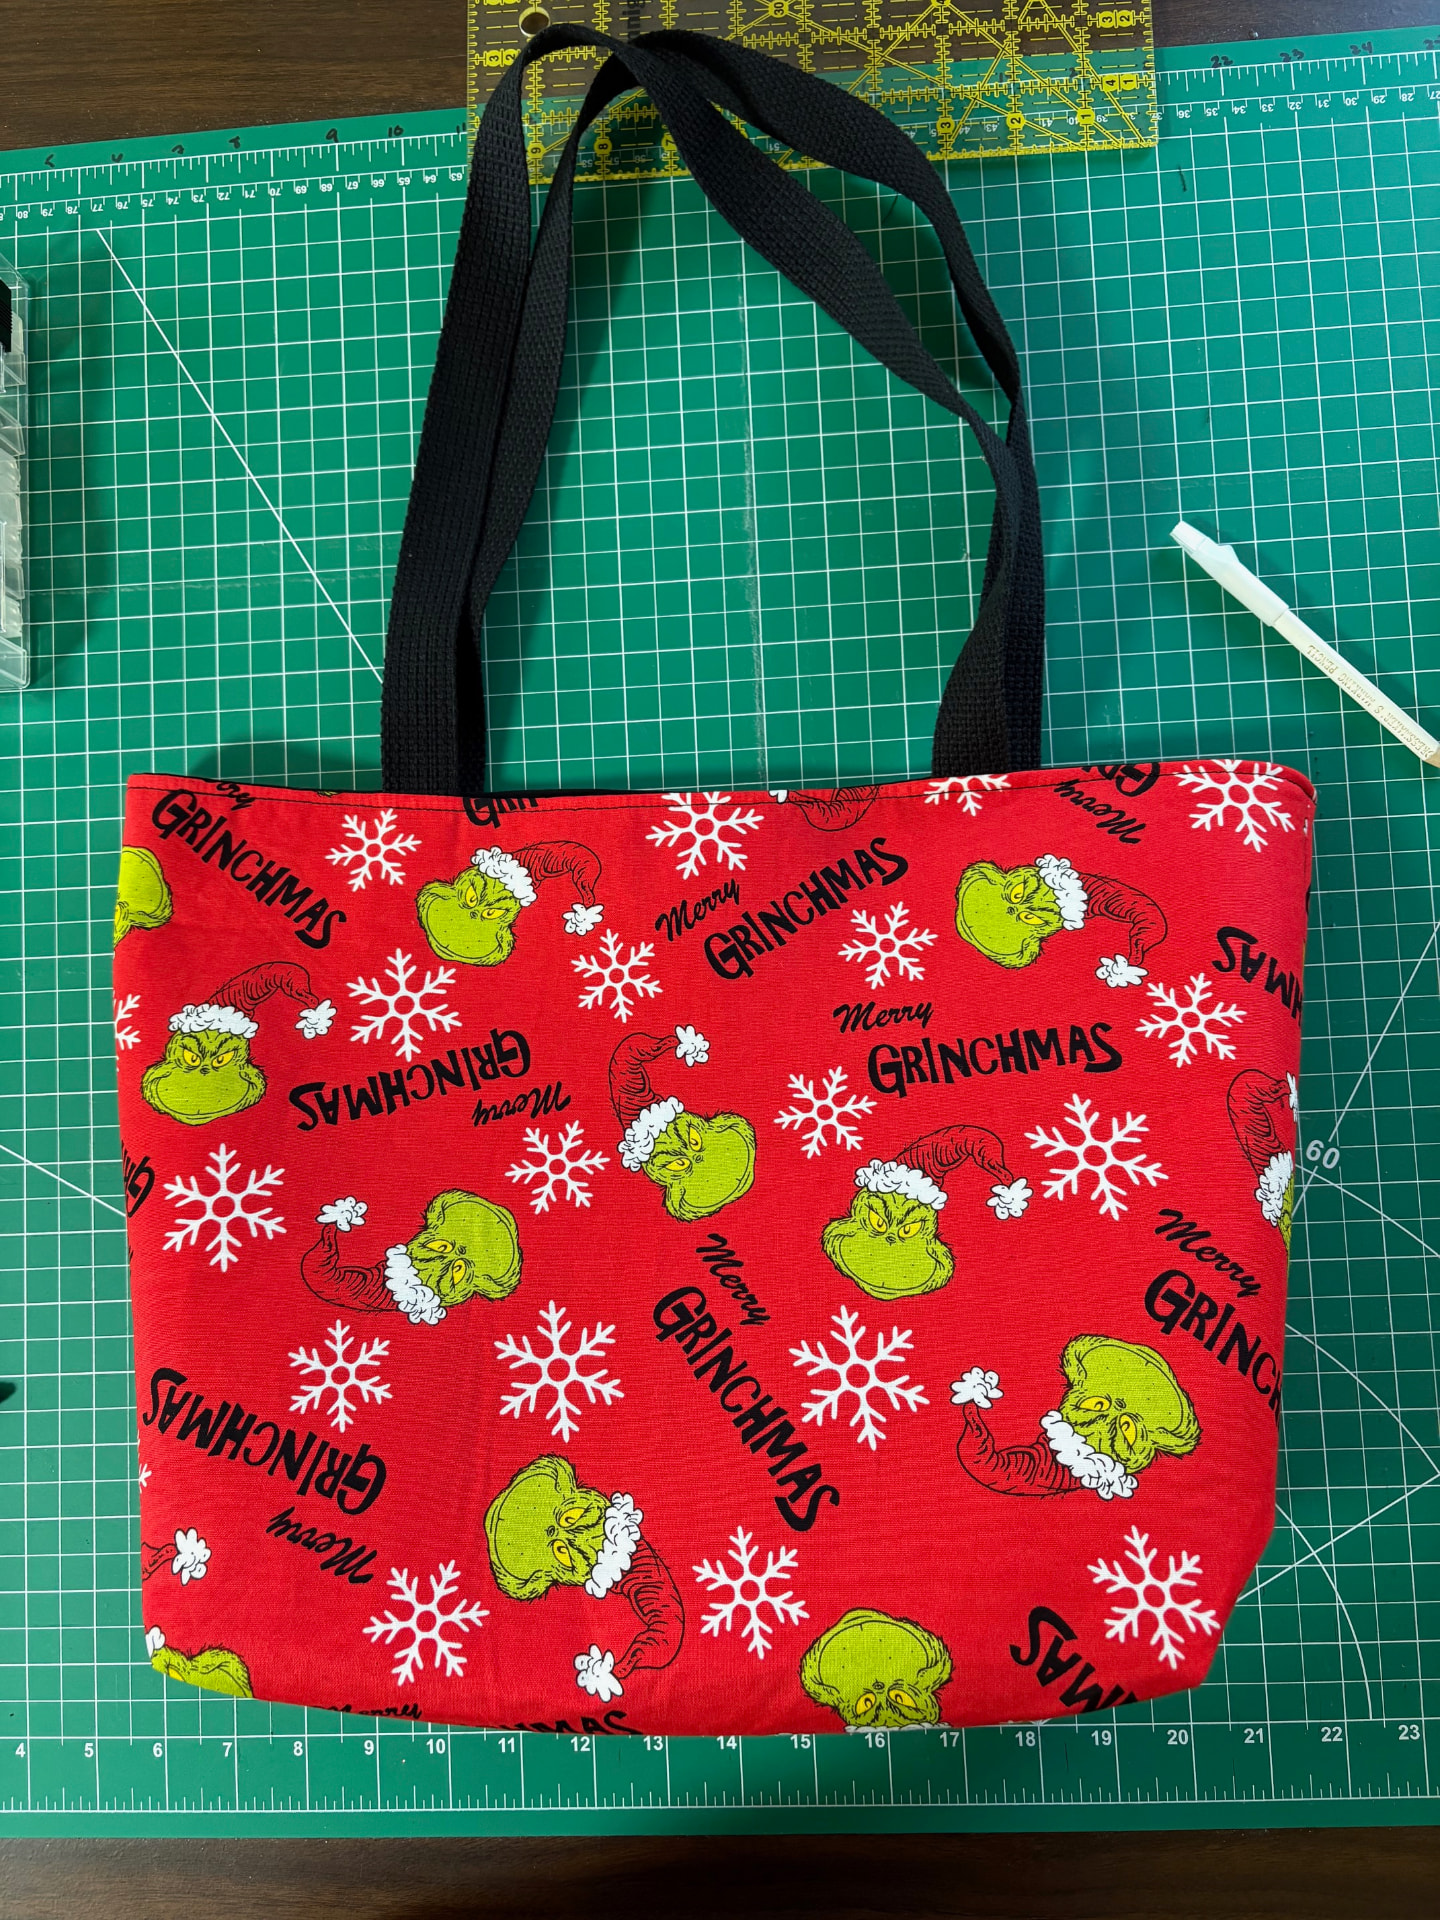
And here it is!
From a pile of fabric pieces to a colorful, roomy, fully lined Chubby Tote with interior pockets, a magnetic closure, and sturdy handles.
I love how the bright red Grinch fabric turned out. It's festive, fun, and definitely not your ordinary holiday tote!
Whether you're shopping for Christmas gifts, heading to a holiday gathering, or simply carrying your everyday essentials, this bag is sure to get some smiles.
A Little More Than Just a Bag
One of the things I love most about sewing is watching an idea take shape, one step at a time.
Every handmade bag involves planning, measuring, cutting, pressing, sewing, checking, and sometimes taking a seam apart and doing it again. (Yes, that happens, too!)
But that's part of the process.
And when I see the finished bag sitting on my sewing table, knowing that I created it from start to finish, it's such a satisfying feeling.
That's what handmade means to me. It's not just the finished product - it's all the care and creativity that go into making it.
Come See It in Person!
🌺 I'll be at the NTVHS Foundation's 14th Annual Craft Fair!
📅 Saturday, November 21
⏰ 10:00 AM – 3:00 PM
My Grinch-themed Chubby Tote will be coming along, together with lots of other colorful handmade creations that I've been busy sewing and knitting for the holidays!
I'd love for you to stop by, say hello, and see everything in person. It's always such a pleasure meeting the people who appreciate handmade creations!
And if you've enjoyed this peek behind the seams, I hope you'll think of all the little steps that go into making something special the next time you pick up a handmade bag.
Until next time, happy creating!
Life is too short to carry a boring bag.
Explore My Handmade Creations